Understanding Klearvue Cabinet Door Mechanisms: How To Adjust Klearvue Cabinet Doors
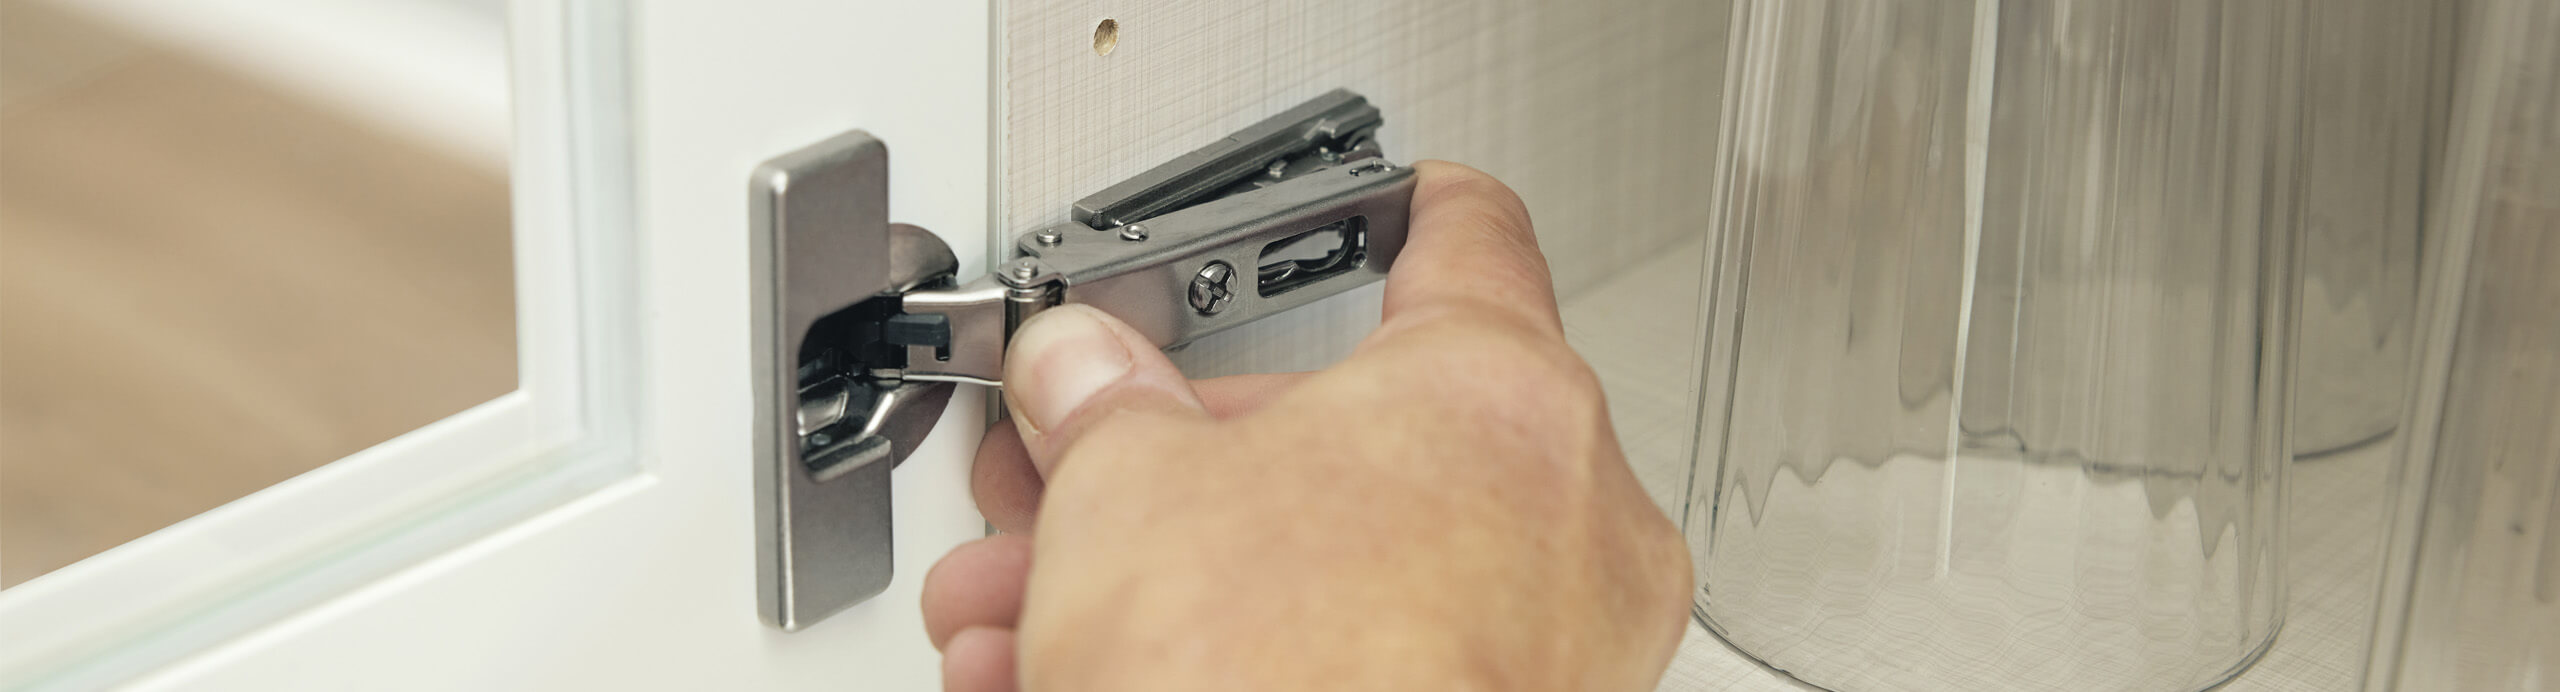
Klearvue cabinet doors, known for their sleek, glass-fronted design, rely on precise hinge mechanisms for proper function. Understanding these mechanisms and their adjustment points is crucial for resolving common issues like misalignment or sticking. This section details the various hinge types, common problems, and troubleshooting steps.
Klearvue Cabinet Door Hinge Types and Adjustment Points, How to adjust klearvue cabinet doors
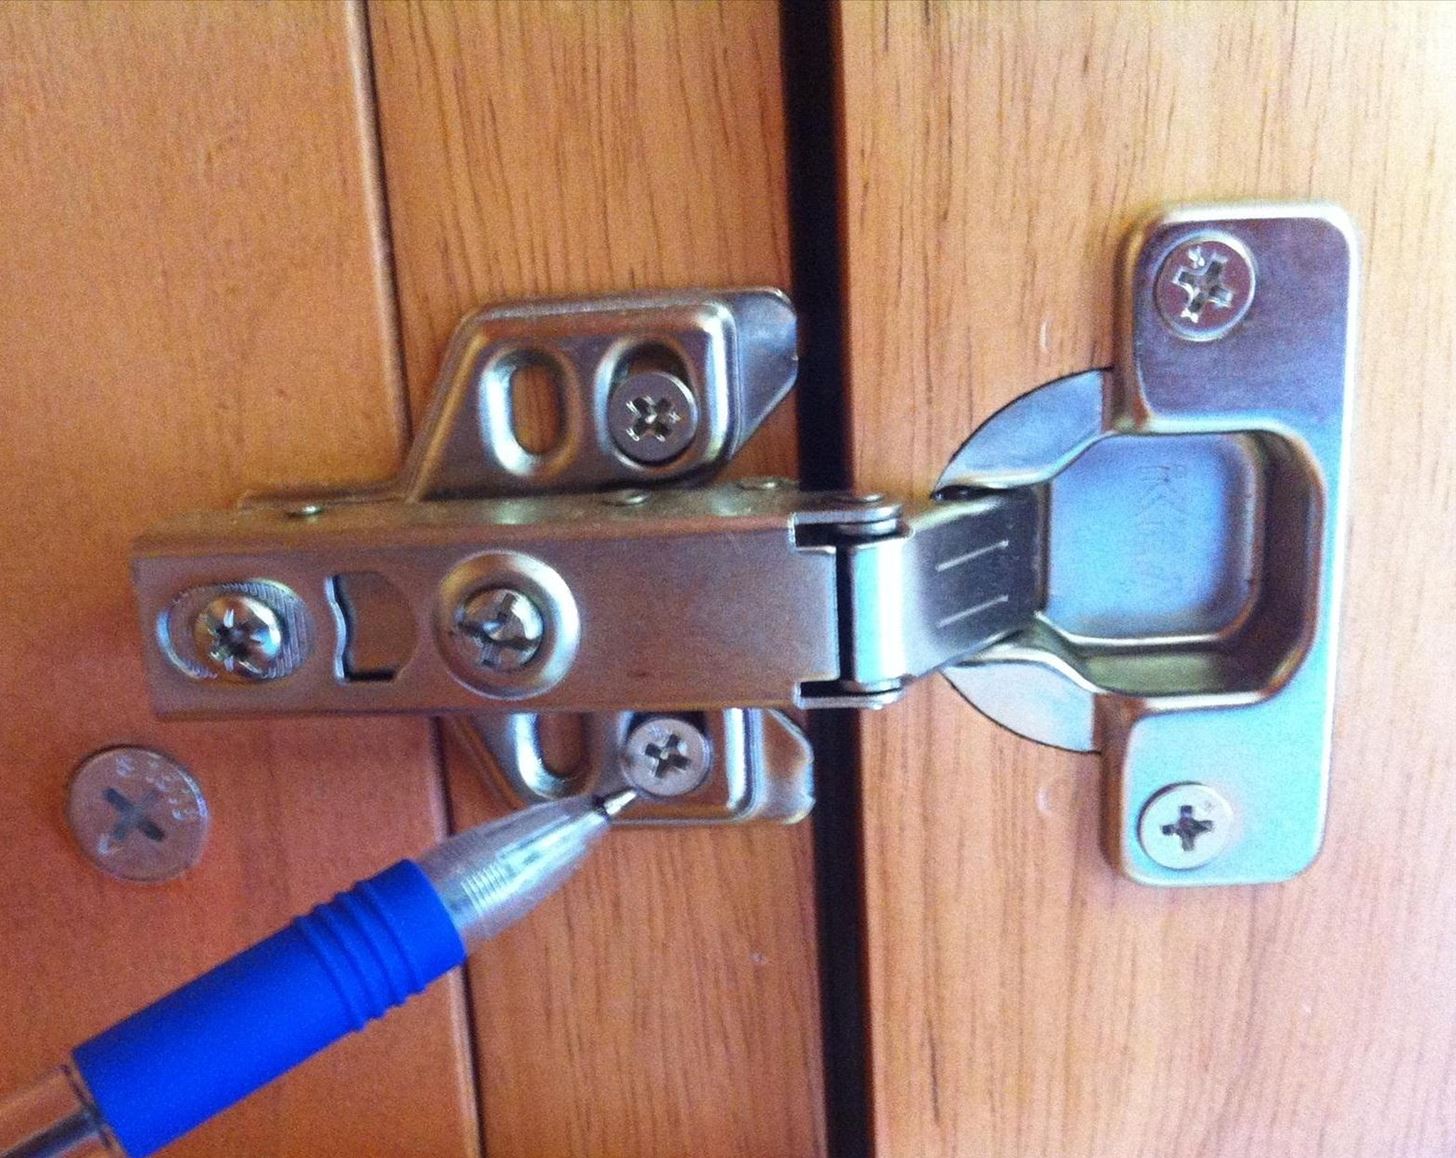
Klearvue doors utilize a variety of hinges, each with specific adjustment capabilities. Common types include European-style hinges, full overlay hinges, and inset hinges. European hinges, often preferred for their adjustability, typically feature three adjustment points: height, side-to-side, and depth. Full overlay hinges usually offer similar adjustments, while inset hinges may have fewer adjustment points depending on their design. The adjustment points are typically accessed via small screws located on the hinge itself. These screws allow for precise fine-tuning of the door’s position relative to the cabinet frame.
Common Problems with Klearvue Cabinet Doors
Several issues can arise with Klearvue cabinet doors, primarily stemming from misalignment or friction. Misalignment can manifest as a door that is uneven, gaps appearing between the door and the frame, or the door binding against the frame. Sticking often results from paint build-up, warped doors, or improperly installed hinges. Loose screws can also contribute to these problems, leading to instability and misalignment.
Identifying and Addressing Adjustment Needs
Diagnosing the specific adjustment needed involves a systematic approach. First, assess the nature of the problem: is the door too high, too low, too far to the left or right, or does it simply stick? For example, if the door is sagging (too low), you’ll need to adjust the height screw on the hinge. If the door rubs against the frame on one side, the side-to-side adjustment will be necessary. Sticking may require adjusting depth or investigating for obstructions. A careful visual inspection, noting the exact points of contact and the direction of the misalignment, is crucial for effective troubleshooting.
Klearvue Cabinet Door Hinge Adjustment Comparison
| Hinge Type | Adjustment Point | Tool Needed | Adjustment Direction |
|---|---|---|---|
| European Hinge | Height, Side-to-Side, Depth | Small Phillips head screwdriver | Clockwise to tighten, counter-clockwise to loosen (generally) |
| Full Overlay Hinge | Height, Side-to-Side, Depth | Small Phillips head screwdriver | Clockwise to tighten, counter-clockwise to loosen (generally) |
| Inset Hinge | Typically Height and Side-to-Side (Depth adjustment may be limited or absent) | Small Phillips head screwdriver | Clockwise to tighten, counter-clockwise to loosen (generally) |
Adjusting Klearvue Cabinet Doors
Klearvue cabinet doors, with their sleek, frameless design, offer a modern aesthetic. However, achieving perfect alignment requires precise adjustment. This section details the practical steps involved in adjusting the height, side-to-side alignment, and gap of these doors, ensuring a professional finish. Improper adjustment can lead to unsightly gaps or doors that bind, impacting both the appearance and functionality of your cabinetry.
Adjusting Klearvue Cabinet Door Height
Adjusting the height of a Klearvue cabinet door typically involves manipulating the hinges. Most Klearvue doors utilize European-style hinges with adjustment screws. These screws allow for fine-tuning of the door’s vertical position. To raise the door, locate the hinge adjustment screws. Usually, there’s a screw for vertical adjustment and one for horizontal adjustment. Using a small screwdriver, carefully turn the vertical adjustment screw clockwise to raise the door. Conversely, turn it counter-clockwise to lower the door. Make small adjustments and frequently check the alignment to avoid over-correction.
Adjusting Klearvue Cabinet Door Side-to-Side Alignment
Side-to-side alignment, also known as lateral adjustment, is controlled by the same hinge adjustment screws as height adjustment. This time, however, we focus on the horizontal adjustment screw. To move the door to the right, turn the horizontal adjustment screw clockwise. To move it to the left, turn it counter-clockwise. As with height adjustment, make incremental adjustments and check the alignment regularly. This ensures precise placement and prevents unintended consequences.
Adjusting the Gap Between Klearvue Cabinet Door and Frame
The gap between the cabinet door and the frame is crucial for proper function and aesthetics. An uneven gap can indicate problems with the door’s alignment or the cabinet itself. This adjustment is usually made using the hinge adjustment screws. A gap that is too wide can be reduced by adjusting the hinges to pull the door slightly closer to the frame. This often requires a combination of both vertical and horizontal adjustments. A gap that is too narrow may require loosening the screws slightly to create more space. However, if the gap remains problematic after hinge adjustments, it might indicate an issue with the cabinet frame itself, requiring more substantial adjustments or even replacement.
Visual Guide to Klearvue Cabinet Door Adjustment
Imagine a visual guide with three panels.
Panel 1: Height Adjustment. This panel shows a Klearvue cabinet door slightly too low. A small Phillips head screwdriver is positioned at the vertical adjustment screw on the hinge. An arrow points to the screw, indicating a clockwise rotation to raise the door. The accompanying text reads “Adjusting Height: Turn screw clockwise to raise.” The next image in this panel shows the door raised to the correct height, with a noticeably smaller gap at the bottom.
Panel 2: Side-to-Side Alignment Adjustment. This panel shows a Klearvue cabinet door slightly too far to the left. The screwdriver is positioned at the horizontal adjustment screw on the hinge. An arrow indicates a clockwise rotation to move the door to the right. The text reads “Adjusting Side-to-Side: Turn screw clockwise to move door right.” The next image depicts the door perfectly aligned, centered within the frame.
Panel 3: Gap Adjustment. This panel initially shows an uneven gap between the door and the frame – too wide on one side, too narrow on the other. The image displays the screwdriver adjusting both the vertical and horizontal screws on the hinges to achieve an even gap. The text describes the process: “Adjusting Gap: Requires combined vertical and horizontal adjustments for even spacing.” The final image showcases the door with a uniformly consistent gap around the entire frame. The tools used throughout the guide are a small Phillips head screwdriver and a level (for ensuring precise alignment).
Troubleshooting and Advanced Adjustments

Uneven gaps between Klearvue cabinet doors, while aesthetically displeasing, often indicate underlying issues with the door’s mechanism or installation. Addressing these problems requires a systematic approach, combining careful observation with precise adjustments. This section details common causes of misalignment, effective correction methods, and the importance of proper alignment for optimal cabinet functionality.
Causes of Uneven Gaps Between Klearvue Cabinet Doors
Uneven gaps typically stem from one or more of the following factors: improper installation, warped doors, settling of the cabinet structure, or incorrect adjustment of the door’s hinges and/or other mechanisms. Warped doors may result from exposure to excessive moisture or temperature fluctuations. Settling of the cabinet frame can cause misalignment over time. Incorrect adjustments to the hinge screws, particularly the depth adjustment screws, are a common culprit. Finally, issues with the door’s frame or its interaction with the cabinet itself can lead to uneven gaps.
Methods for Correcting Uneven Gaps
Several methods exist for rectifying uneven gaps. These range from simple adjustments to the hinge screws to more involved procedures, such as shimming or replacing damaged components. Fine-tuning the hinge screws allows for precise control over the door’s position, addressing minor misalignments. Shimming involves inserting thin materials, like wood or plastic shims, between the door and the cabinet frame to correct larger gaps. This technique compensates for minor imperfections in the cabinet frame or door. In cases of significant warping or damage, replacing the affected door or hinge may be necessary.
Importance of Proper Door Alignment for Optimal Cabinet Functionality
Proper alignment of Klearvue cabinet doors is crucial for several reasons. Firstly, it ensures a seamless, aesthetically pleasing appearance. Secondly, it contributes to the smooth and reliable operation of the doors, preventing binding or jamming. Improper alignment can strain the hinges and other mechanisms, leading to premature wear and tear. Finally, aligned doors enhance the overall functionality and longevity of the cabinet. A cabinet with properly aligned doors is more durable and efficient, improving the user experience.
Troubleshooting Flowchart
The following flowchart Artikels a systematic approach to troubleshooting uneven gaps in Klearvue cabinet doors:
How to adjust klearvue cabinet doors – Start
→ Inspect for warped doors or damaged hinges.
→ Yes (Warped/Damaged): Replace the affected door or hinge.
→ No (No warping/damage): Proceed to the next step.
→ Check for settling of the cabinet frame.
→ Yes (Settling detected): Shim the cabinet frame as needed to correct the unevenness.
→ No (No settling): Proceed to the next step.
→ Adjust the hinge screws (depth and height adjustments).
→ Uneven gaps persist?
→ Yes: Re-evaluate the installation and consider professional assistance.
→ No: Gaps corrected. End

